Monday, 25 June 2018

Owners Bikes, Dene Gorfin, bike 3, part 2

Here is the latest restoration update from Dene Gorfin:

"I have decided to make a start with the build even though still after some bits and some parts which turned up were wrong and have been sent back.
The forks and brakes on the bike are temporary while I wait for parts on the UK spec brakes/forks (twin caliper/discs) rather than the European single disc set up.
Rather a slow start as when I started to fit steering bearings noticed the lock stop on the frame had taken a hit so this had to be welded and then coated again.
While checking the engine i noticed the kick shaft was a bit thicker and wouldn't accept the kick start so that's another job to do.
Apart from that its starting to take shape, more soon!"


Friday, 8 June 2018

Owners bikes: Dene Gorfin bike 3, part 1

Our friend and serial MBX restorer Dene Gorfin is making great progress on his third MBX80 project, particularly impressive is the finish on the wheels. Dene said:

" Just a quick update on latest project, got some parts back from the coaters today, very pleased (especially how well the wheels came back) considering how weathered it all was.

I have got some more parts on order so hopefully in about 3 weeks once I have all the new parts and finished cleaning the reusable bits i will start the build."


*** If you have a restoration story that you would like to share please get in touch!

Tuesday, 8 May 2018

My bike, lots of small jobs update

This weeks updates are lots of small jobs, see photo descriptions!

rear drum brake connected - not keen on the painted rocker arm, I think I'll replace this.

seat retention clip fitted

Radiator fitted

looking through my spares I found a NOS oil tank I forgot I had...

NOS oil tank fitted

Chain guard fitted

clocks frame, clocks and handle bar on, now where was the wiring diagram!

Clocks warning lights done, LH switch gear done, throttle and throttle cable fitted

progress!

Wednesday, 25 April 2018

Honda MBX80, project 2

So… I have gone and bought myself another MBX80, I hear you ask ‘why another MBX80?’, I’ll counter that with ‘Why not!’

Seriously though, I have been on the lookout for another project to work on after my bike is finished and in the end the list got very small, with the main contenders were a Honda NS125F or R, Honda MB-8 and a Rothmans MBX80. Either bike would of fitted the bill although I was leaning towards the MB8 for cost reasons, then I was reminded of a MBX80 that was for sale from Jay Hancock who is a fellow moderator on the Facebook M Club, so the deal was done and the bike was collected.

So the next question is what do I do with the restoration of bike 2?
Partly inspired by Dean Gorfin’s parts special I think this is the direction of this machine. Actually a lot of the cost of a restoration is chasing that factory or showroom finish so bike 2 will not be pushed down this direction. It is possible to make a great restoration with a great finish but not factory, so things like stainless bolts, braided brake lines and powdercoated parts. Also as one of the bikes on my list was a Rothmans this is going to be the colour of this bike.


paint job inspiration 

UPDATE: After a change of plans I have now sold this bike, so this project wont go ahead. However there will still be a second bike project that I will share, just not this one, stay tuned!

Monday, 16 April 2018

My bike: Restoration update, the middle of the bike!

This week’s restoration update was to fit the Oil reservoir, coolent reservoir, airbox and battery box.

The oil reservoir fits very snuggly inside the frame and to get it in required the removal of the inner mudguard and the top shock bolt. With these removed I could lift the back end of the bike up to make the gap between the rear tyre and the frame larger and get the oil tank in to the frame via this gap. Once the tank was in I could re-fit the top shock bolt and then the rear mudguard which the oil tank bolts to it.

Next in was the air box, first connect the airbox to the carb and then bolt the air box to the frame. On the other side the battery box can go in with the coolent reservoir bolting to the bottom battery box mount. The oil res was then plumbed in to the oil pump and the coolent res water pipe routed roughly where it had to go.

Next the rear indicator mounts were de-greased, sanded, painted with primer and satin black paint.

Next job I fitted the rear cowling and checked alignment of the rear light in the bodywork, and its all looking good.


Lastly I stripped and straightened the front indicator stay, unfortunately one side has a broken tab. This part although cheap is a no longer available item, so it is going to a friend of mine who will fabricated a new tab and weld it on.


Monday, 9 April 2018

My bike, getting the loom on part 1


This weeks restoration update started with offering up the wiring loom to the bike, and to be honest I wasn’t looking forward to anything to do with the loom!

Ok, so using the workshop manual you can carefully trace the route of the loom, so starting at the mid-point for the indicator relay/ rectifier and connected the wires that directly plum in to the motor I worked backwards to the rear light. Once I had the loom in place I re-fitted the rear light assembly and connected the wires to the loom. Next I re-fitted both the rear mudguard parts and bolted on the CDI, Rectifier and Indicator relay.

The next job is to get the oil and coolant reservoir, batter box and air box in place, so these all came to work for a scrub in the parts washer.

Tip: The owner’s manual doesn’t tell you how to do jobs like ‘fit the rear mudguard’ so its supper handy to also have the exploded parts diagram handy so you can see which part goes where and with what bolt.


Monday, 26 March 2018

my bike, restoration update, clocks

This week I have started to re-wrap some segments of the wiring loom using black electrical tape, its not that exciting hence no image!

The big job was re-building the clock unit. The top piece is held on by four screws and this in effect splits the clocks in half with the bottom half holding everything except the colour warning lights. The speedo and the rev counter are held in by two screws each on the back and one removed will just push out. The temperature gauge is held in by two screws accessed from the top but also has free wires and a rubber weather seal that needs carefully pushing through a small access hole.

Once the clocks were out I gave them a very careful clean and I also made the decision to leave the mileage alone. I know some restorers like to reset the mileage to zero but I felt the bike would be nicer if it wore its correct mileage as this is part of the bikes history.

To reassemble just revere the disassembly starting with the temperature gauge making sure the rubber weather seal is properly seated.

The only other job this week was I took the headlight sub frame to work to clean up in the parts washer prior to painting.


Wednesday, 14 March 2018

my bike, Practical Sportsbike Magazine

My bike is featured in the latest Practical Sportsbike Magazine in the 'in your shed' feature, magazine out today!

Monday, 12 March 2018

my bike: wiring loom + frame/ fit

This week I have finally started on the wiring loom, a job I'd been putting off. To work on it I made a large clean work area to lay the loom out in its entirety. Using a foam clean and a rag I started just to clean up the loom and connections to see what repair work I need to do, thankfully the loom in itself has no issues apart from a bit of unravelling tape in some areas, some black electrical tape will fix this.


The clock unit is damaged and had been held together with some inner tube rubber and some dirt has got in to the speedo, thankfully I do have a replacement upper case for this already and I just found a replacement lower case on ebay so I will be able to completely repair this.

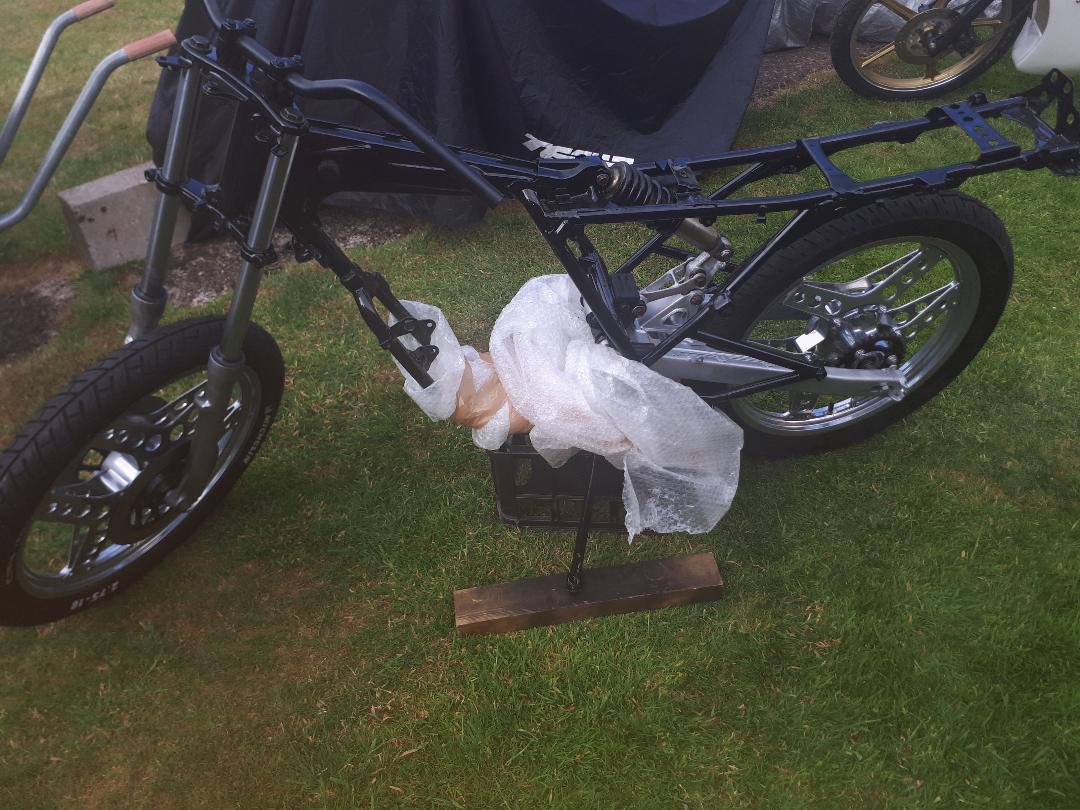
The other issue is the right hand indicator bracket which at some point has snapped off, these are discontinued and seemingly unavailable on ebay, so I need to fabricate a replica metal tab and weld it on to the stay to repair it.

The next job was to look at the exhaust which is currently mounted on the bike, the problem was that it didn't line up with the rear exhaust hanger (which is part of the frame). Firstly I wondered if the engine was mounted correctly, so I loosened the engine mount bolts and pulled it around, obviously nothing changed... so I re-torqued the engine mount bolts and had another think to what could be wrong?

Looking at the back of the bike it quickly became clear that the rear foot rest hanger was bent in, so I made lots of measurements and realised it was bent in by 25mm. With a dirty great big metal pole, lots of frame protection and some brute strength I pulled the frame hanger triangle out by 25mm and hey presto, the frame lined up with the exhaust and now looked square form the rear.

I would speculate that this part of the frame bent in when the bike was crashed on the right hand side in a previous life, as this part of the frame would damage it the exhaust was hit hard.

here was the problem, not detectable until I started to bolt things on again!
new gap!

all good again and ready for the next step
this image has the bodywork photoshoped on, just to see what it is looking like!